
The inspiration for this background came from the fact that I wasn't in the mood to do anything special,
so I spent the afternoon again playing with filters. I love my "Simple" filters
and so I was doodling, really trying to recreate something I had seen using KPT5 which I didn't have. It seemed "goofy" what I was doing but by the time I was finished, I was
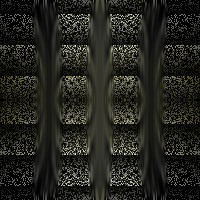
calling my husband through to see what I had so proudly created(at least, in my eyes). What you will be making is the background
that you see here on this page.
What You Will Need to Start
...PSP 6 or 7 (this was done in 6)...
Visit JASC to download a free trial
..."Simple Filter - Top Left Mirror" that you can download here...
Open a new image 200 by 200 in black, 16mil colours. You can also use 150 square if you want a smaller size.
Choose white and any colour that you would like. I used a goldy yellow here for demonstration purposes. Go to the airbrush tool and use the following settings.
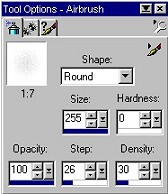
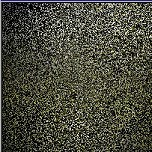
Airbrush a couple of quick shots of white and your other colour. Here is what mine looked like.
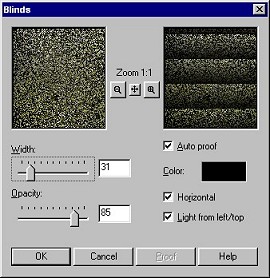
Go to "effects - blinds" and choose these settings.
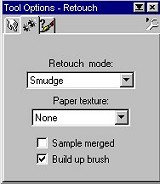
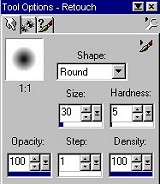
Go to the tool bar on the side and choose Retouch, or the "little hand". We are going to use the smudge effect
and you can adjust the settings to match mine.
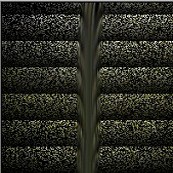
Starting in approximately the centre, take the brush and just start at the top and drag down all the way to the bottom and off the image.
Then do the same thing halfway to the left and then halfway to the right. See below.
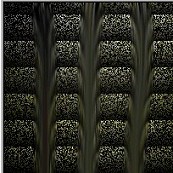
Go to effects - filters - Simple - "Top left mirror". The window will pop up with no choices other than to click to apply.
And that's it. You have what I consider another unique and interesting background tile.
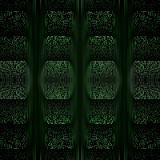
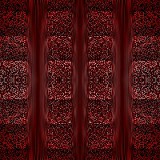
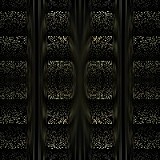
I have displayed below a few more samples for you to see. Each will look different depending on how you use your spray can at the beginning.
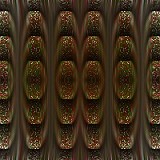
The one on the left was done using two shades of green on black. The middle one was red and white on a black background, and the last one was a white bladeproed copper first.
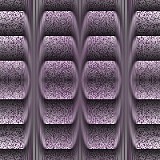
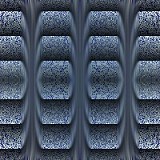
These next three were done on a white background. The first used two shades of purple, and the second used navy and turquoise on a white background. The third used red and green on a white background but instead of dragging
three lines, I dragged 5 lines.
Click here to see a full page example of the blue one above.
Click here to see a full page example of the red and green above that I dragged 5 lines
instead of three.
If you have any problems or need further explanations, please feel free to email me here
MAIN TUTORIAL LIST
This tutorial was posted at the site of "P. Ann's Place" Nov.14,2001 and written
by P. Sherman.
All I ask is that you do not claim it as your own.
|
|