
The inspiration for this background came from the fact that I wasn't in the mood to do anything special,
so I spent the afternoon playing with filters. I had downloaded the VM Filters and hadn't really done too much with them, so
I checked out what was there, and when I tried this one, I stopped and thought "This is something I really like." I hope you will too. What you will be making is the background
that you see here on this page.

What You Will Need to Start
...PSP 6 or 7 (this was done in 6)...
Visit JASC to download a free trial
...VM Filter - Experimental that you can download here...
... Mura Seamless Tile Filter that you can download here...
Open a new image 150 by 150 in black, 16mil colours.
Choose white and a nice shade of blue as your two colours to work with. Click on the airbrush tool and use these settings.
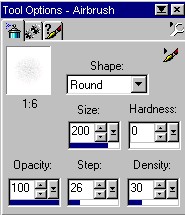
Airbrush a couple of quick shots of white and then the blue. Here is what mine looked like.
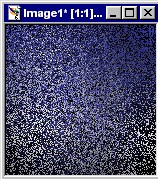
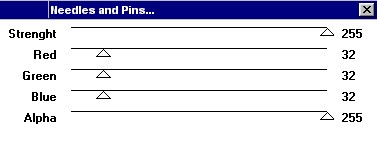
Go to effects - VM Experimental and choose "needles and pins". When the window opens just change the top setting only to the far right and leave the others
as the default settings. Then click to apply.
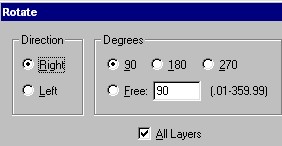
Go to image - rotate and use these settings.
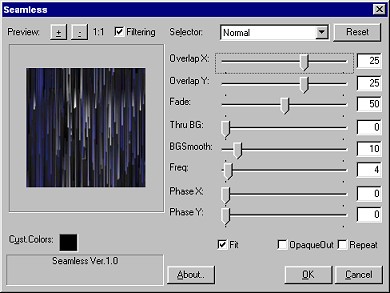
Then go to image - filters - Mura Seamless and when the window opens, just click on the defaults. I have given the screen shot
just in case there is anything different when your filter opens.
And that's it. You have what I consider a unique and interesting background tile.
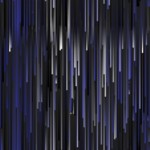
I have displayed below a few more samples for you to see. The next three are all done using white
and another colour. Each will look different depending on how you use your spray can at the beginning.
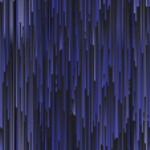
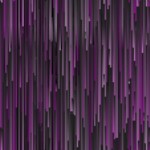
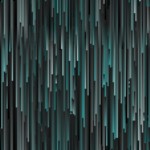
These next three were done slightly differently. I love using my Bladepro and the glitter settings. When I opened
the black image, I added a new layer and sprayed white. Then I used a bladepro glitter setting. Then I applied another
layer and sprayed white again. Then I applied another bladepro glitter setting. Then I merged all three layers and
then went to Experimental - needles and pins.
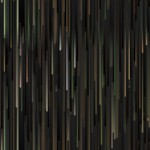
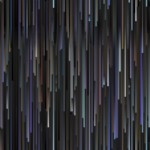
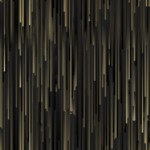
The first one on the left used Dee's copper shimmer, the one in the middle used Dee's blue and brass shimmers, and the one
on the end used the same gold shimmer on both layers.
Click here to see a full page example.
If you have any problems or need further explanations, please feel free to email me here
MAIN TUTORIAL LIST
This tutorial was posted at the site of "P. Ann's Place" Nov.12,2001 and written
by P. Sherman.
All I ask is that you do not claim it as your own.
|
|