title

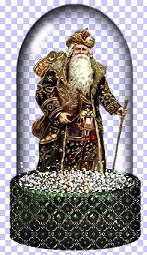
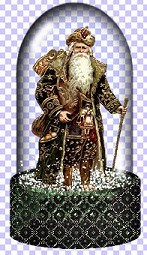
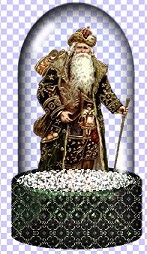
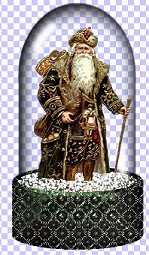
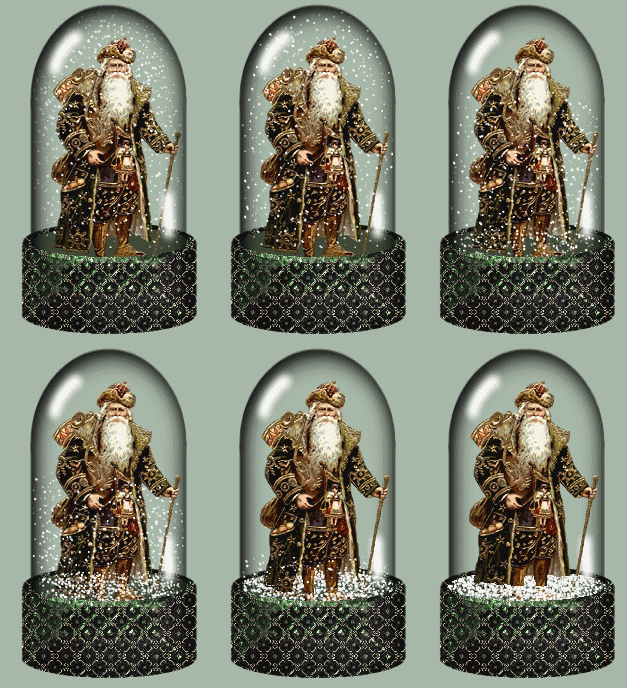
You only have two steps to finish now. You need to revisit the last two images. The second last image needs a little snow erasure and the last image needs a little snow erase to complete the look. Check out the two images below which represent the second last image. You need to go in and on the snow layer, erase a little bit of the snow that is gathering around the boots and lower coat. You do not want to erase all the snow because some is supposed to be still falling, and you don't want to have it look "phony" or appear to be all in front of the Santa image.
The last images are shown below. The one on the left is what it looked like when you added the snow and the one on the right is what it should look like after you erase some of the snow so it appears to be all on the bottom yet looking realistic. Please notice that the snow you remove should look like the level of snow on the bottom is higher than the previous image. Please check above and have a close look at both images and how the snow looks.
Now you can save all your images and take them to your favourite animation programme. I usually animate with the speed around 20 to 22.

globe

I hope I have been able to convey, without too much confusion, how I did this animation. Since this is my first tutorial, I will tell you I found it very difficult making sure I added all the steps that I do, yet take for granted because I have done it many times. If there is any step you are unsure of or can't understand, please email me. There is a direct e-mail link on the main page. I would also very much appreciate hearing from anyone, if you try this tutorial, if there is any way I could go about explaining things differently or were the directions satisfactory for you to complete a globe. I am open to all suggestions for improvement. Pat


BACK         TUTORIAL LIST MENU