
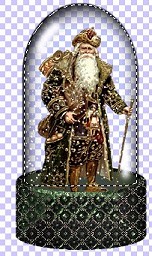
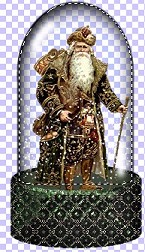
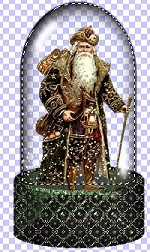
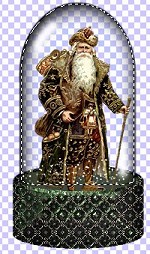

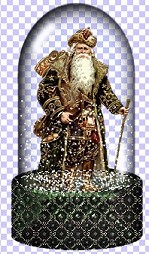
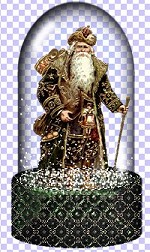
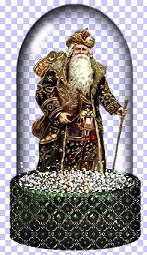
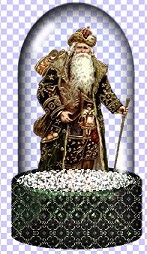
In the images, another alpha channel has been saved for you already. Go to "selections", "load from an alpha channel", and click on "base". You will now see an oval or elipse shape around the base of the dome and into part of the base. This is where you will add the extra snow that appears to have settled on the bottom. The following four images show you the last four you have to work on and what they should look like after you have added more snow. They are the waist down, below waist down, knees down, and the all down. The first of the four will have less and the next images will have more snow added until it is almost full on the last image.
You are almost finished. The last stages are on the next page.
BACK GO TO THE NEXT PAGE