
It was partly inspired by seeing a friend's work at the Fantasy Inspiration Forum. I had also recently installed PSP7 and stumbled across the leather effect. I tried to combine both and came up with a frame that I quite liked and thought others might find useful as well. As I go along, I will try to include both instructions (6 and 7) when required. The basic differences are only when you have to apply the leather look. I must admit that I am still more comfortable using version 6.02 so the screen captures and images you will see throughout this tutorial have been done in version 6 rather than version 7.
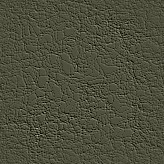
You can download the image of the lady in green below. Right click on her and "save picture as" to your hard drive. You can also right click and save the green leather tile if you are using any version other than 7.
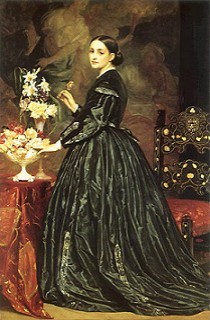
Open your "greenlady.jpg" image and your leather tile (if you need to) in Paint Shop Pro. You will notice that the size of the lady image is 210 wide by 320 high. You can now minimize your lady and tile because you will not be needing them for a little while.
The first thing to do is open a new image the exact same size as the lady
210 by 320. Just make the background white (not transparent), 16.7 million colours.
For your foreground colour, choose the dark green - settings are R=80 G=80 B=63 . For the background colour choose the light green - settings are R=153 G=151 B=128 .
Click on the paint can and flood fill your new image with the dark green.
Go to the main menu at the top to "Image" and then down to "Add border". Use the pale green colour to add a uniform border of 8 all around the picture.
On your colour palette, click on the little black arrow underneath your two colours so that you can now add a border with the dark green. Choose a uniform size of 16.
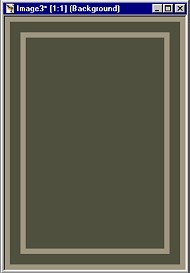
Go back to the little black arrow and switch colours again to add one last border of the light green. Using the light green, add another uniform border of 8. Your work should now look like the image below.
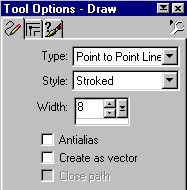
We are now going to start adding the lines between the two pale green borders. Have your pale green colour, on your palette, as the foreground. (The one on the left). Click on the pencil, and go to the draw window. Set it up the same as the one below.
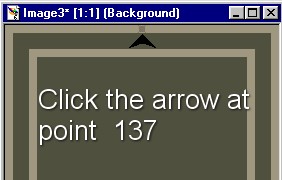
Your picture now has new dimensions with the added borders. If you check the very bottom left of your screen, the image size is printed there. The size now is 274 wide by 384 high. The first number is the width, the second the height. You are going to be checking these numbers carefully as we add the little lines. For adding the lines across the top and bottom, you only need to keep your eye on the first number. We need to go across to the centre point of our image (274 divided by 2 gives us 137)and place the pencil point somewhere on the outside pale line and left click the mouse.
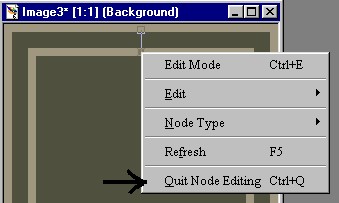
Now drag the pencil down to somewhere on the inner pale border, keeping your eye on that first lower left corner number. When you see that number at 137 again, you know you have a perfectly straight line. When it is aligned at 137, left click, then immediately right click. Go down to the bottom of the pop up menu and click "Quit node editing". When you do this, your little single line should change into a pale green line of 8 pixels wide.
I hope you didn't find that too complicated to understand because you have 11 more lines to go. The thing to watch is that you keep the lines straight and try and keep inside the pale green borders. If you happen to go over into the dark green, you can always do the "control" and "z" to undo or use the paint brush with the dark green colour and paint over any extending ones to remove them.
You need to do 2 more lines at the top. I have spaced them 40 pixels apart so your two coordinates are:
Left: draw line at point 97 Centre: 137 Right: draw line at point 177
You must now use these same coordinates and draw three lines along the bottom.
Now is the time to add the lines along the two sides. Using the coordinates listed below, keep your eye trained on the second number now in the lower left. That will tell you how far down you are from the top.
Upper: draw line at point 152 Centre: 192 Lower: draw line at point 232
Your image should now look like this when you have added all the lines.

GO TO THE NEXT PAGE