
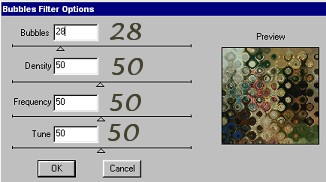
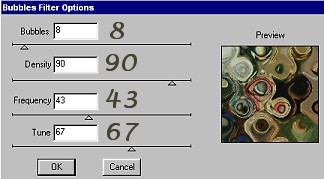
"Bubbles"
I will explain more fully during this first example and for all the rest, I will just show you the settings
I used and the first and final results. You are free to use whatever settings you wish to give you an image that pleases you.
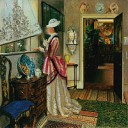
I took the original image and went to -- Effects/Plugins/DSBFlux/Bubbles --
and used the following settings.
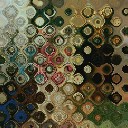
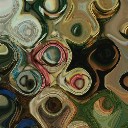
That left me with the following image. If you click on it you will see, as it is, it does not make the most pleasant
background.
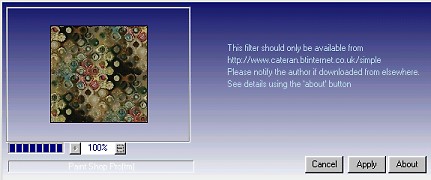
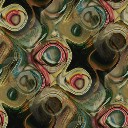
If however, you go to -- Effects/Plugins/Simple/QuickTile -- the following window pops up and all you have to do is click on "Apply". You can click on the
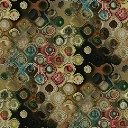
finished tile below and see what a difference applying this filter has made to the look of your background.
I have a second example using "Bubbles" with different settings just to show how the look can change.
Click on the second and third examples to again see what happens after the bubble effect is applied, then after the quick tile is applied.
On the remaining pages, I will only list the name of the DSB flux effect and show you the settings I used and the effects both before and
after the Simple quick tile is applied. This is to introduce you to what I discovered while "playing around" with these two filters
after following Dee's wonderful tutorial. You can click on the finished tile
in each example to show you the final look on a full page.
PAGE ONE PAGE THREE
MAIN TUTORIAL LIST
|
|